Привет камунити!
В этой статье хочу поделиться с вами, как можно вместо стандартного флоу логина в организацию
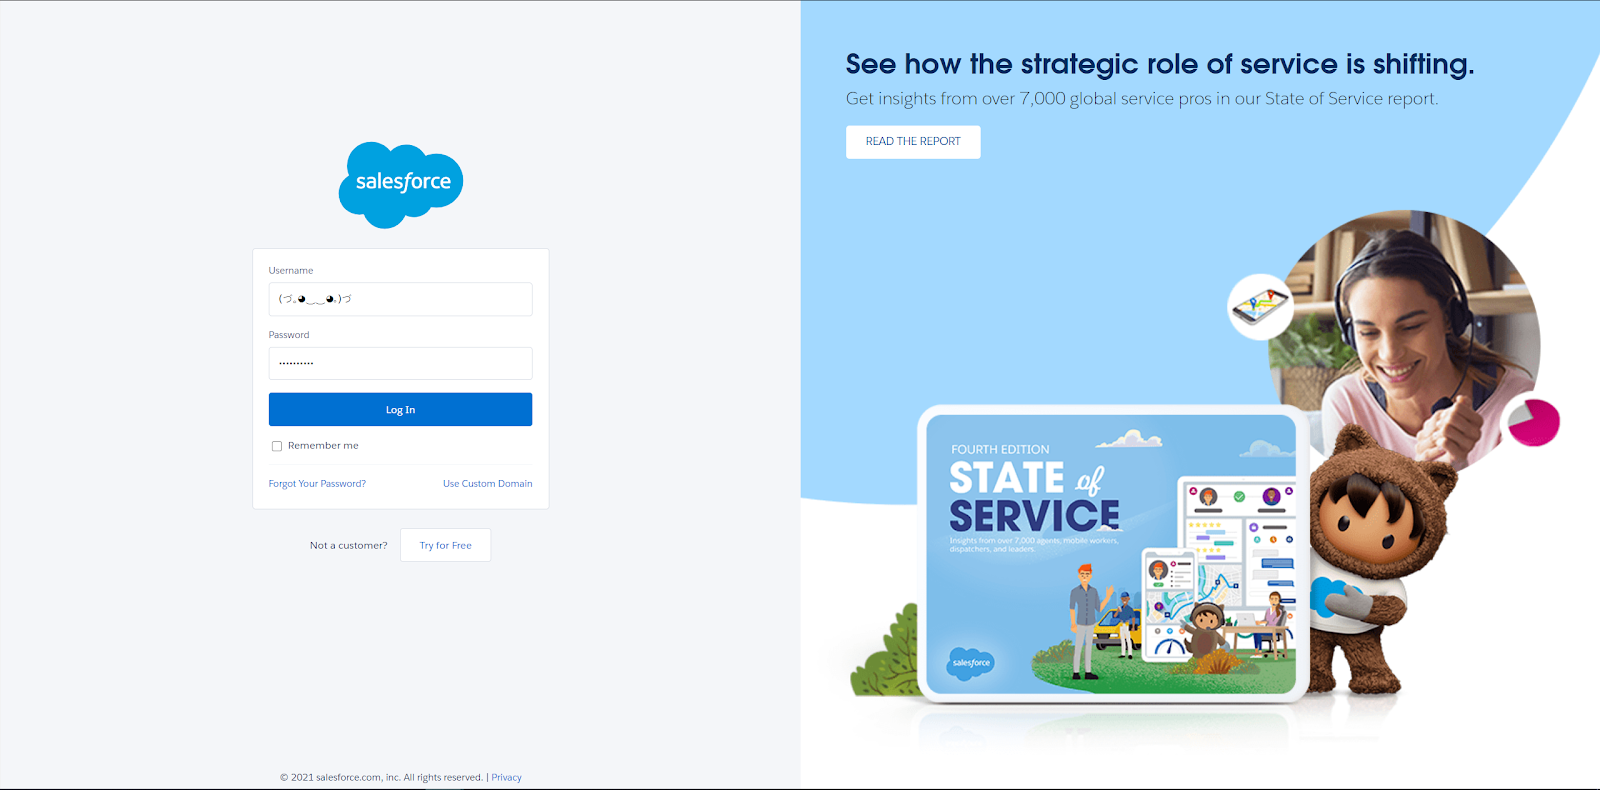
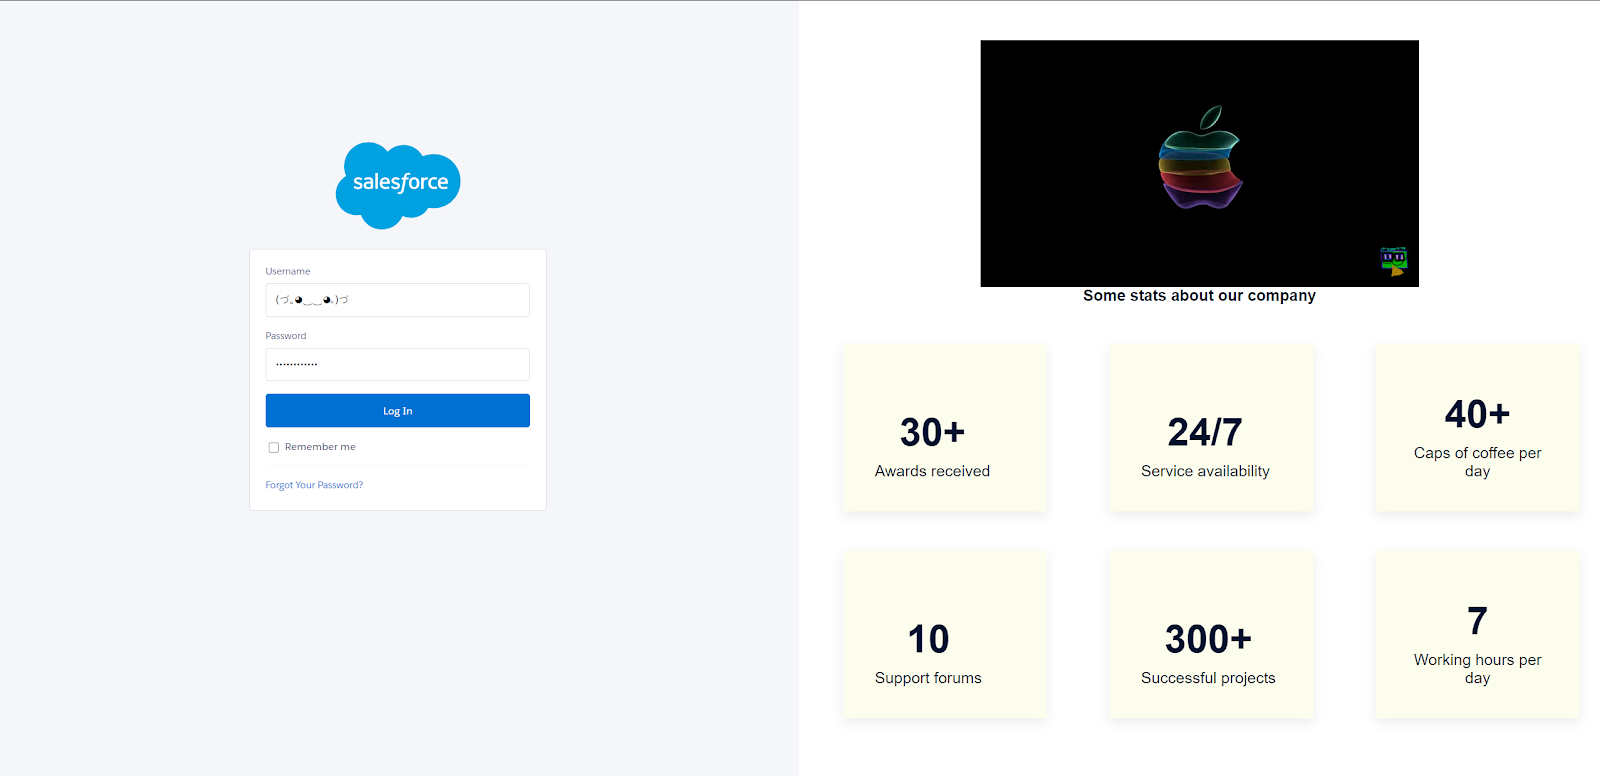
сделать что-то прикольное, наподобие:
Реализовать мы это сможем благодаря тому, что SF предоставляет нам возможность создать “My Domain” для нашей организации. По дефолту, когда мы переходим на страницу логина, у нас в правой части отображается iframe (promos)
“My Domain” позволяет нам использовать кастомную страницу логина для нашей организации. Снизу план, как это можно быстро реализовать (͡° ͜ʖ ͡°)
Шаг 1 Создать Visualforce страницу
Так как наша страница не содержит кода(контроллера), вы можете создать или изменить вашу Visualforce страницу прямо на продакшене.
Для этого:
- Go to Setup > Develop > VisualForce Pages.
- Select New.
- Enter your code.
- Select Preview to make sure it works.
- Select Save.
Шаг 2 Создать сайт для нашей страницы
- Select Setup > Sites.
- If this is your first Site (or Community), you need to register your Sites/Communities domain name. Follow the instructions on the page.
- Once your domain is registered, select New. Fill in the first fields with your information.
- Add your Site Name (this will be the unique URL for the Site) and make the Site active.
- Select the Visualforce page created earlier as the Active Home Page.
- Leave the default entries as is.
- VERY IMPORTANT – Set the Clickjack Projection to “Allow framing by any page (No protection).” Otherwise, the page will not display.
- Accept the remaining default values.
- Save the Site.
- Verify that the page displays properly from the Site by clicking on the Site URL in the list of Sites.
- Write down the Site URL – you will need it in the next step.


Шаг 3 - Создание My Domain
You can skip this step if you already have My Domain setup.
If you do not have a My Domain specified for your organization, follow these steps:
-
Select Setup > My Domain.
-
Follow the on-screen instructions to register and then deploy your “My Domain.”
For more guidance watch this Salesforce video.
Шаг 4 - Конфигурация аутентификации
- In the lower half of the My Domain page called “Authentication Configuration”, select Edit.
- Enter the Site URL that you wrote down earlier in the Right Frame URL.
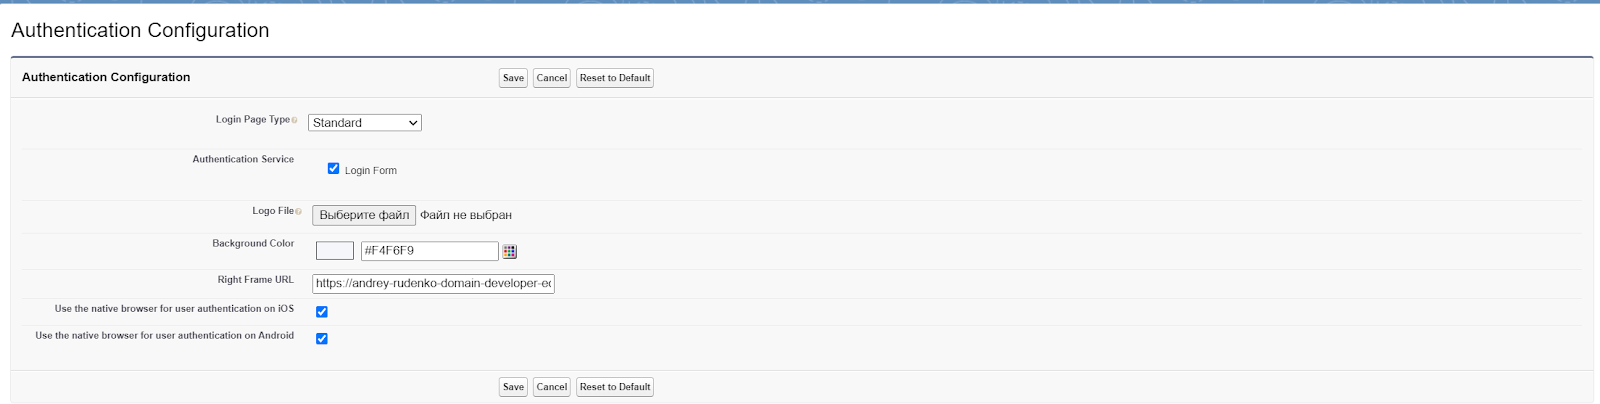
- Select Save.
Всё, теперь можно логиниться с помощью вашего кастомного решения ![]()